

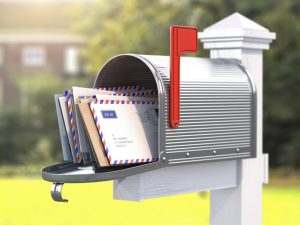


Let’s paint a familiar picture. You’re on your way to a dinner party and you stop in a liquor store to purchase a bottle of wine. While perusing the hundreds of bottles, wondering which the guests will enjoy most, you finally choose a particular bottle of red. Why? Probably because it looks nice! It has a cursive font or a beautiful image of a vineyard in Italy. More often than not, the packaging of a product makes us decide whether the product is worth our money before we even try the product itself!
This is why custom design packaging for retail, restaurants, health, beauty, and more should not be fast-tracked. Hiring a professional company like Print Three that designs custom packaging every day can be the best approach, so you can continue to focus on you product or other product launch details.
Here are the steps we take when creating an amazing custom packaging design for your product.
Step 1: Initial Consultation
Package designing takes time and precision. It is the first impression of your product. How many of us still have our iPhone packaging tucked away somewhere? iPhones have such an intuitive and beautifully designed package, that most of us just don’t seem to toss it once our phones are out of the box. It’s sturdy, functional, and absolutely wastes no space.
The initial consultation step of the custom packaging design is to understand the vision behind the product so that the package can have some synergy with what’s inside. Your vision of the package could include colour, font, images, style, folds, size, weight, and more. Product knowledge will give designers a sense of what the packaging should “say” to its recipient.
Step 2: Concept and Design
This stage involves the design team along with the client (you!) coming up with creative packaging ideas and solutions, within the budget and time constraints given by the client. The client can hone in on which packaging design stands out, make tweaks, and work with the designers to ensure their vision comes to life. Sometimes you don’t know what you’re looking for until you see it. We’re here to help you land that best-selling concept.
Step 3: 3D Visualization Proofing
Before anything tangible is created, we like to create a 3D image of what the final product will look like on a screen, so you can see it from all angles and make any necessary changes before it comes to life for the first time.
Step 4: Prototyping and Custom Packaging Design Mockup
This is a fun phase. In this phase, you get to see your custom package design truly come to life in the form of a mockup. Being able to physically see, touch, and interact with your prototype can help you understand the customer’s experience of opening your branded packaging. Final tweaks are ironed out in this phase. Customer satisfaction is our top priority. The design and print teams at your local Print Three will work with you until you’re 100% in love with your custom product packaging.
Step 5: Final Product
This is the most exciting phase as your completed custom printed packaging is complete and ready to receive your products. The best part about working with us is that no matter how many custom-printed boxes you need, there is no minimum on how many are required for a single print run. This gives you full freedom to do a special promo custom package for your top customers for example and opens up a world of marketing possibilities.
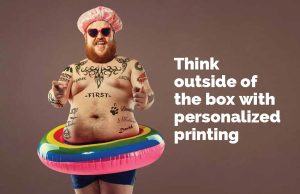
At Print Three, we’re more than just a printer. We are a print marketing company and have the expertise and commitment to service to help you design the best custom packaging on the market. Contact us to learn more!